
I’ve walked in and out of my garage a million times over the past seven years. And every time, I look at my cluttered work bench with disgust.
I’ll clean it up tomorrow, I always tell myself. And then I hear my wife do the Marge Simpson groan of frustration from somewhere else in the house. Seriously, I’m going to clean up the garage.
And sitting in the corner is the eight-point deer rack collecting dust and cobwebs. It’s been more than 12 years since that buck walked up over the mountain ridge on the snowy winter morning. Two .30-30 rounds later, he was steak in the freezer and his antlers sat idle, a grotesque little trophy of my first deer kill.
This year I decided it was time to do something with the antlers. With my Opinel No. 8 pocket knife’s wood handle slowly rotting, why not turn the antlers into a knife handle? Why not, indeed.
I had found some videos on YouTube illustrating various ways to make knife handles from antlers and after several days of study, I figured this was within my patience and skill level. So what follows is a narrative of how I took the beam of antler and made a new handle for my Opinel.
Select the Antler, Prep the Tools
You’ll need several basic tools to begin work on an antler handle of any kind. Here’s a list of what I used to cut, carve and shape mine:
- Power drill or Dremel tool – this will help speed the drilling, cutting and shaping of the antler. I recommend strong steel drill bits and Dremel bits for grinding and shaping.
- Pocket knife – believe it or not, but your average pocket knife is a good tool to sliver off pieces of antler in shaping it to your desired form and size. It will be more precise than a saw, too.
- Palm sander – this will help you fine-tune the antler down to sizes that will correspond with knife parts and smooth out any rough edges far faster than sanding by hand.
- Needle-nose and other pliers, flat-head screw drivers, hammer and mallet – these hand tools will help you pry, squeeze, push and tap knife components into place while disassembling and re-assembling your knives.
- Various size hacksaws – these will not only help you cut the antler to size, but offer more delicate cuts than the power tools and will allow you to cut metal where necessary.
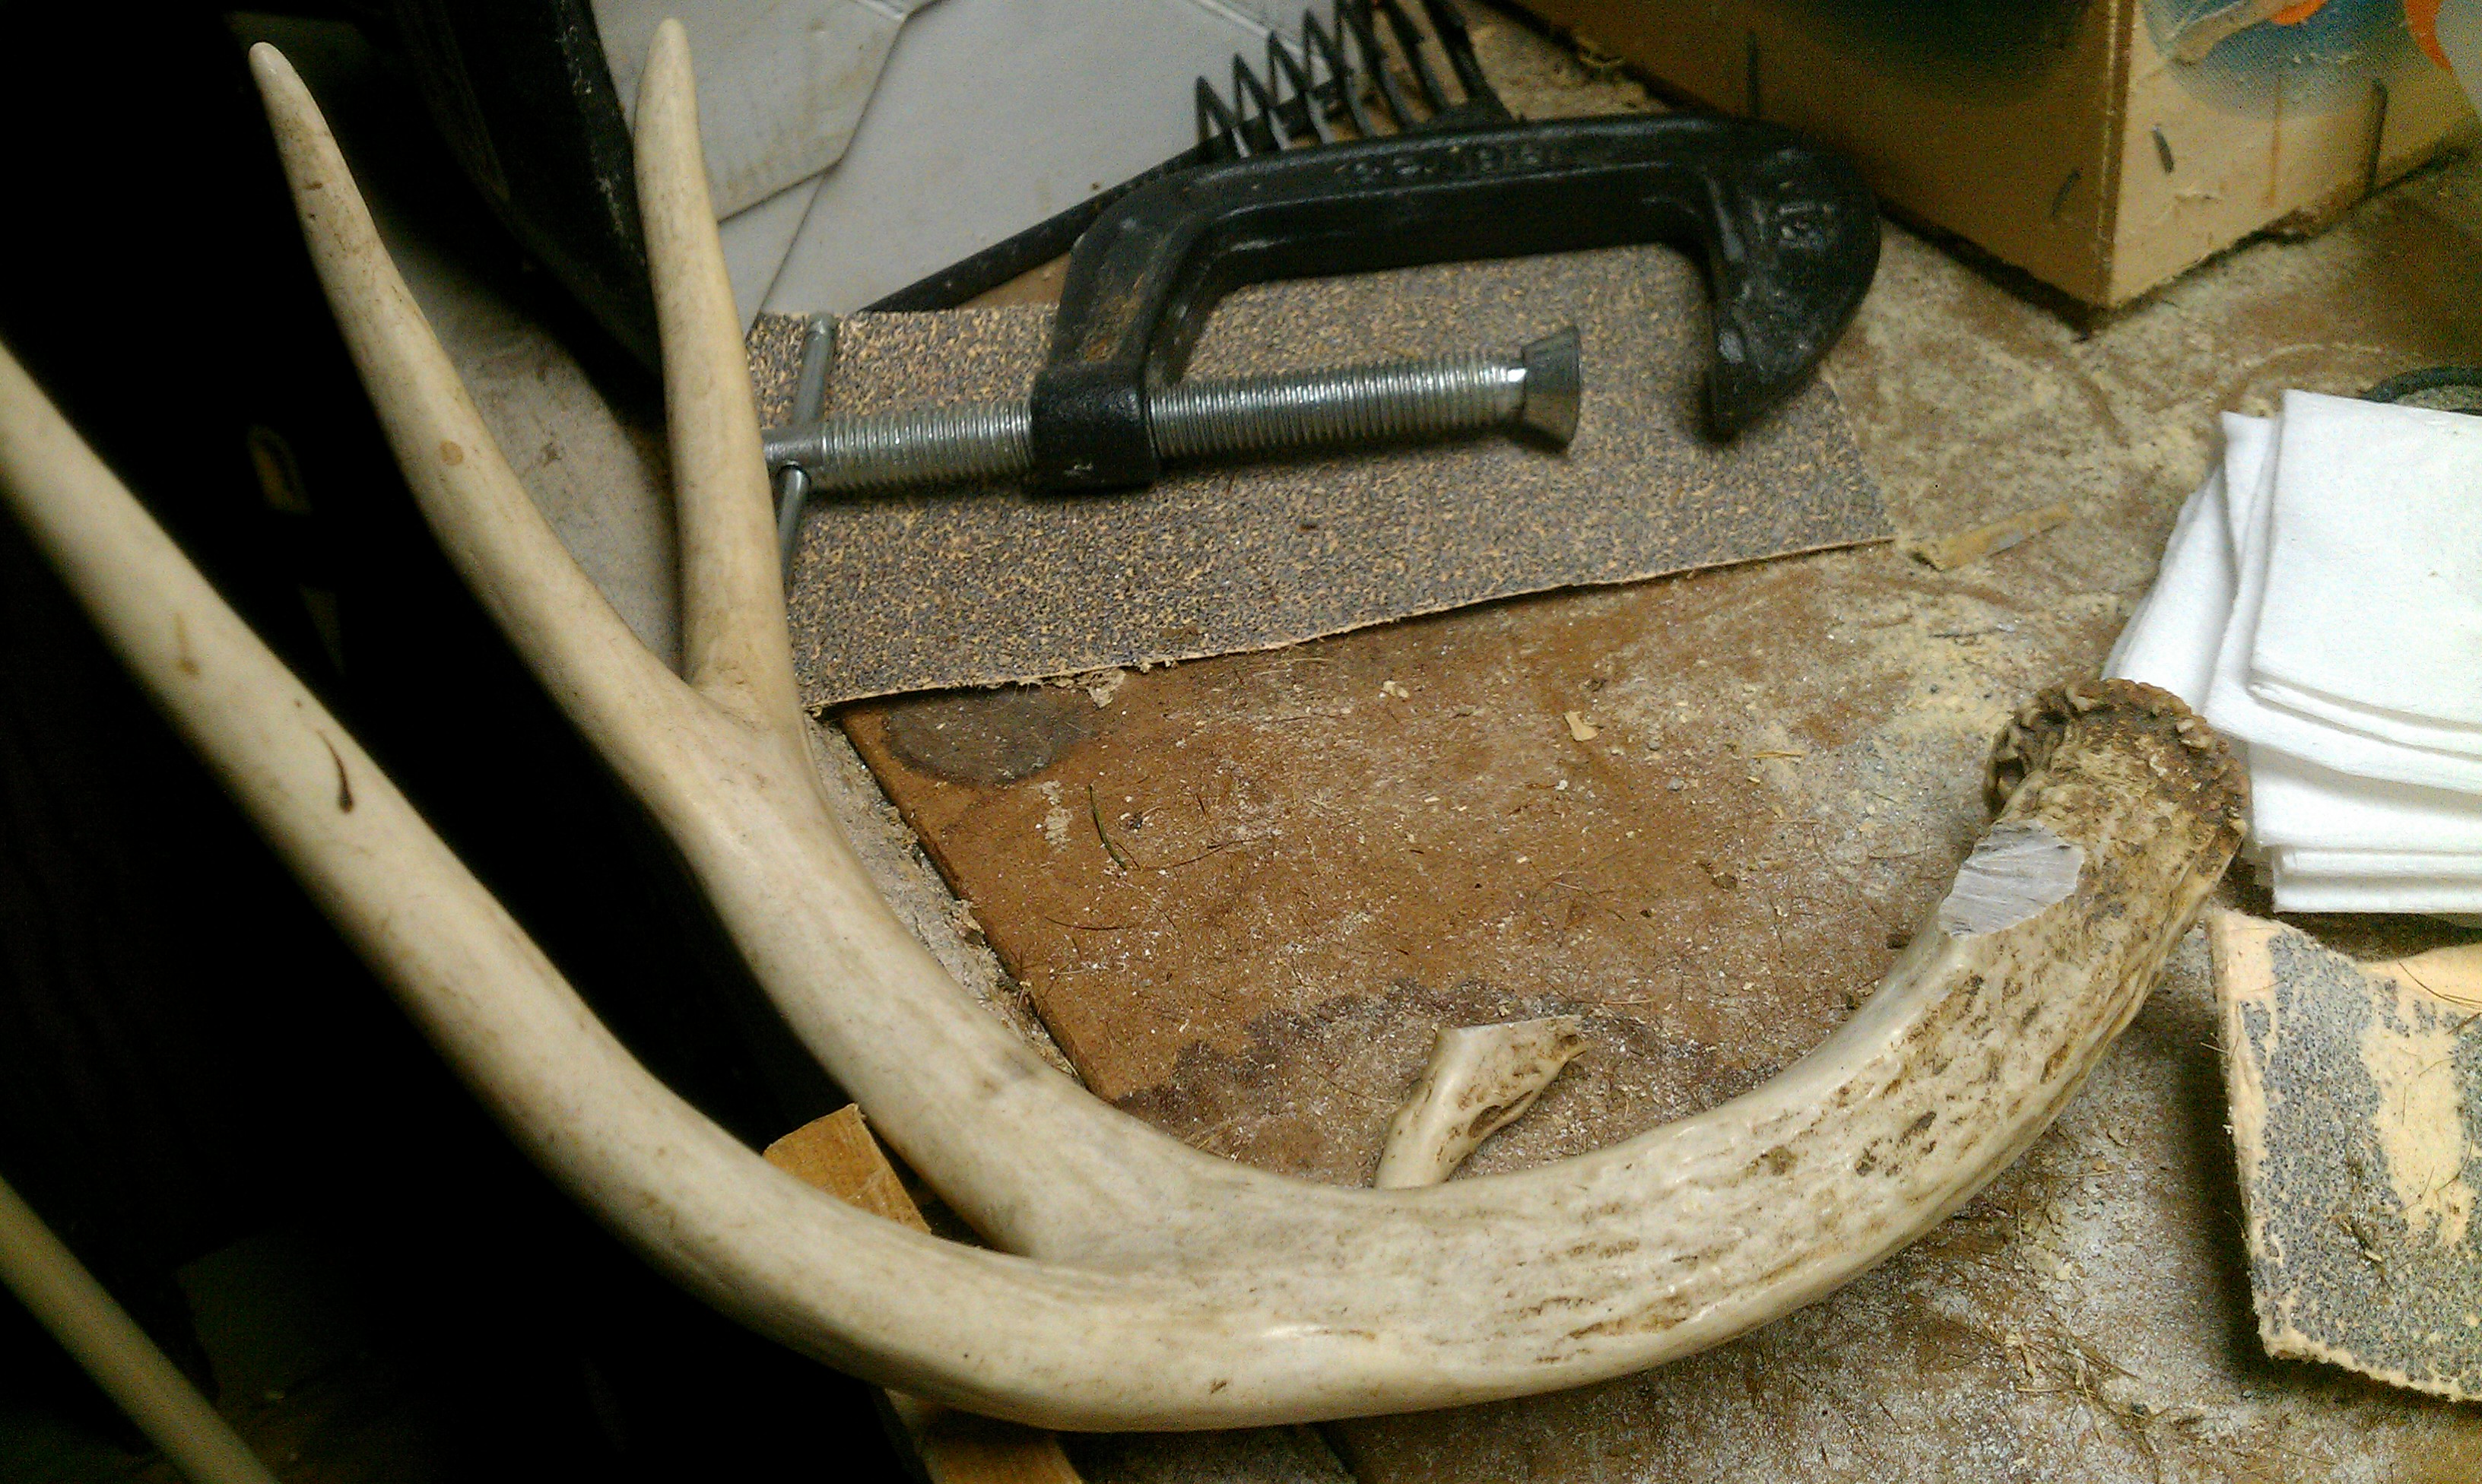
- Sturdy work bench, multiple clamps and wood planks – These are a necessity unless you plan to do everything by hand, but I recommend it for ease and safety. Put wood between the clamp and antler to prevent damage to your new handle.
- Pencils, tape measure, safety glasses and a dust mask – Antler dust is nasty. The glasses and mask will keep it from your eyes and lungs.
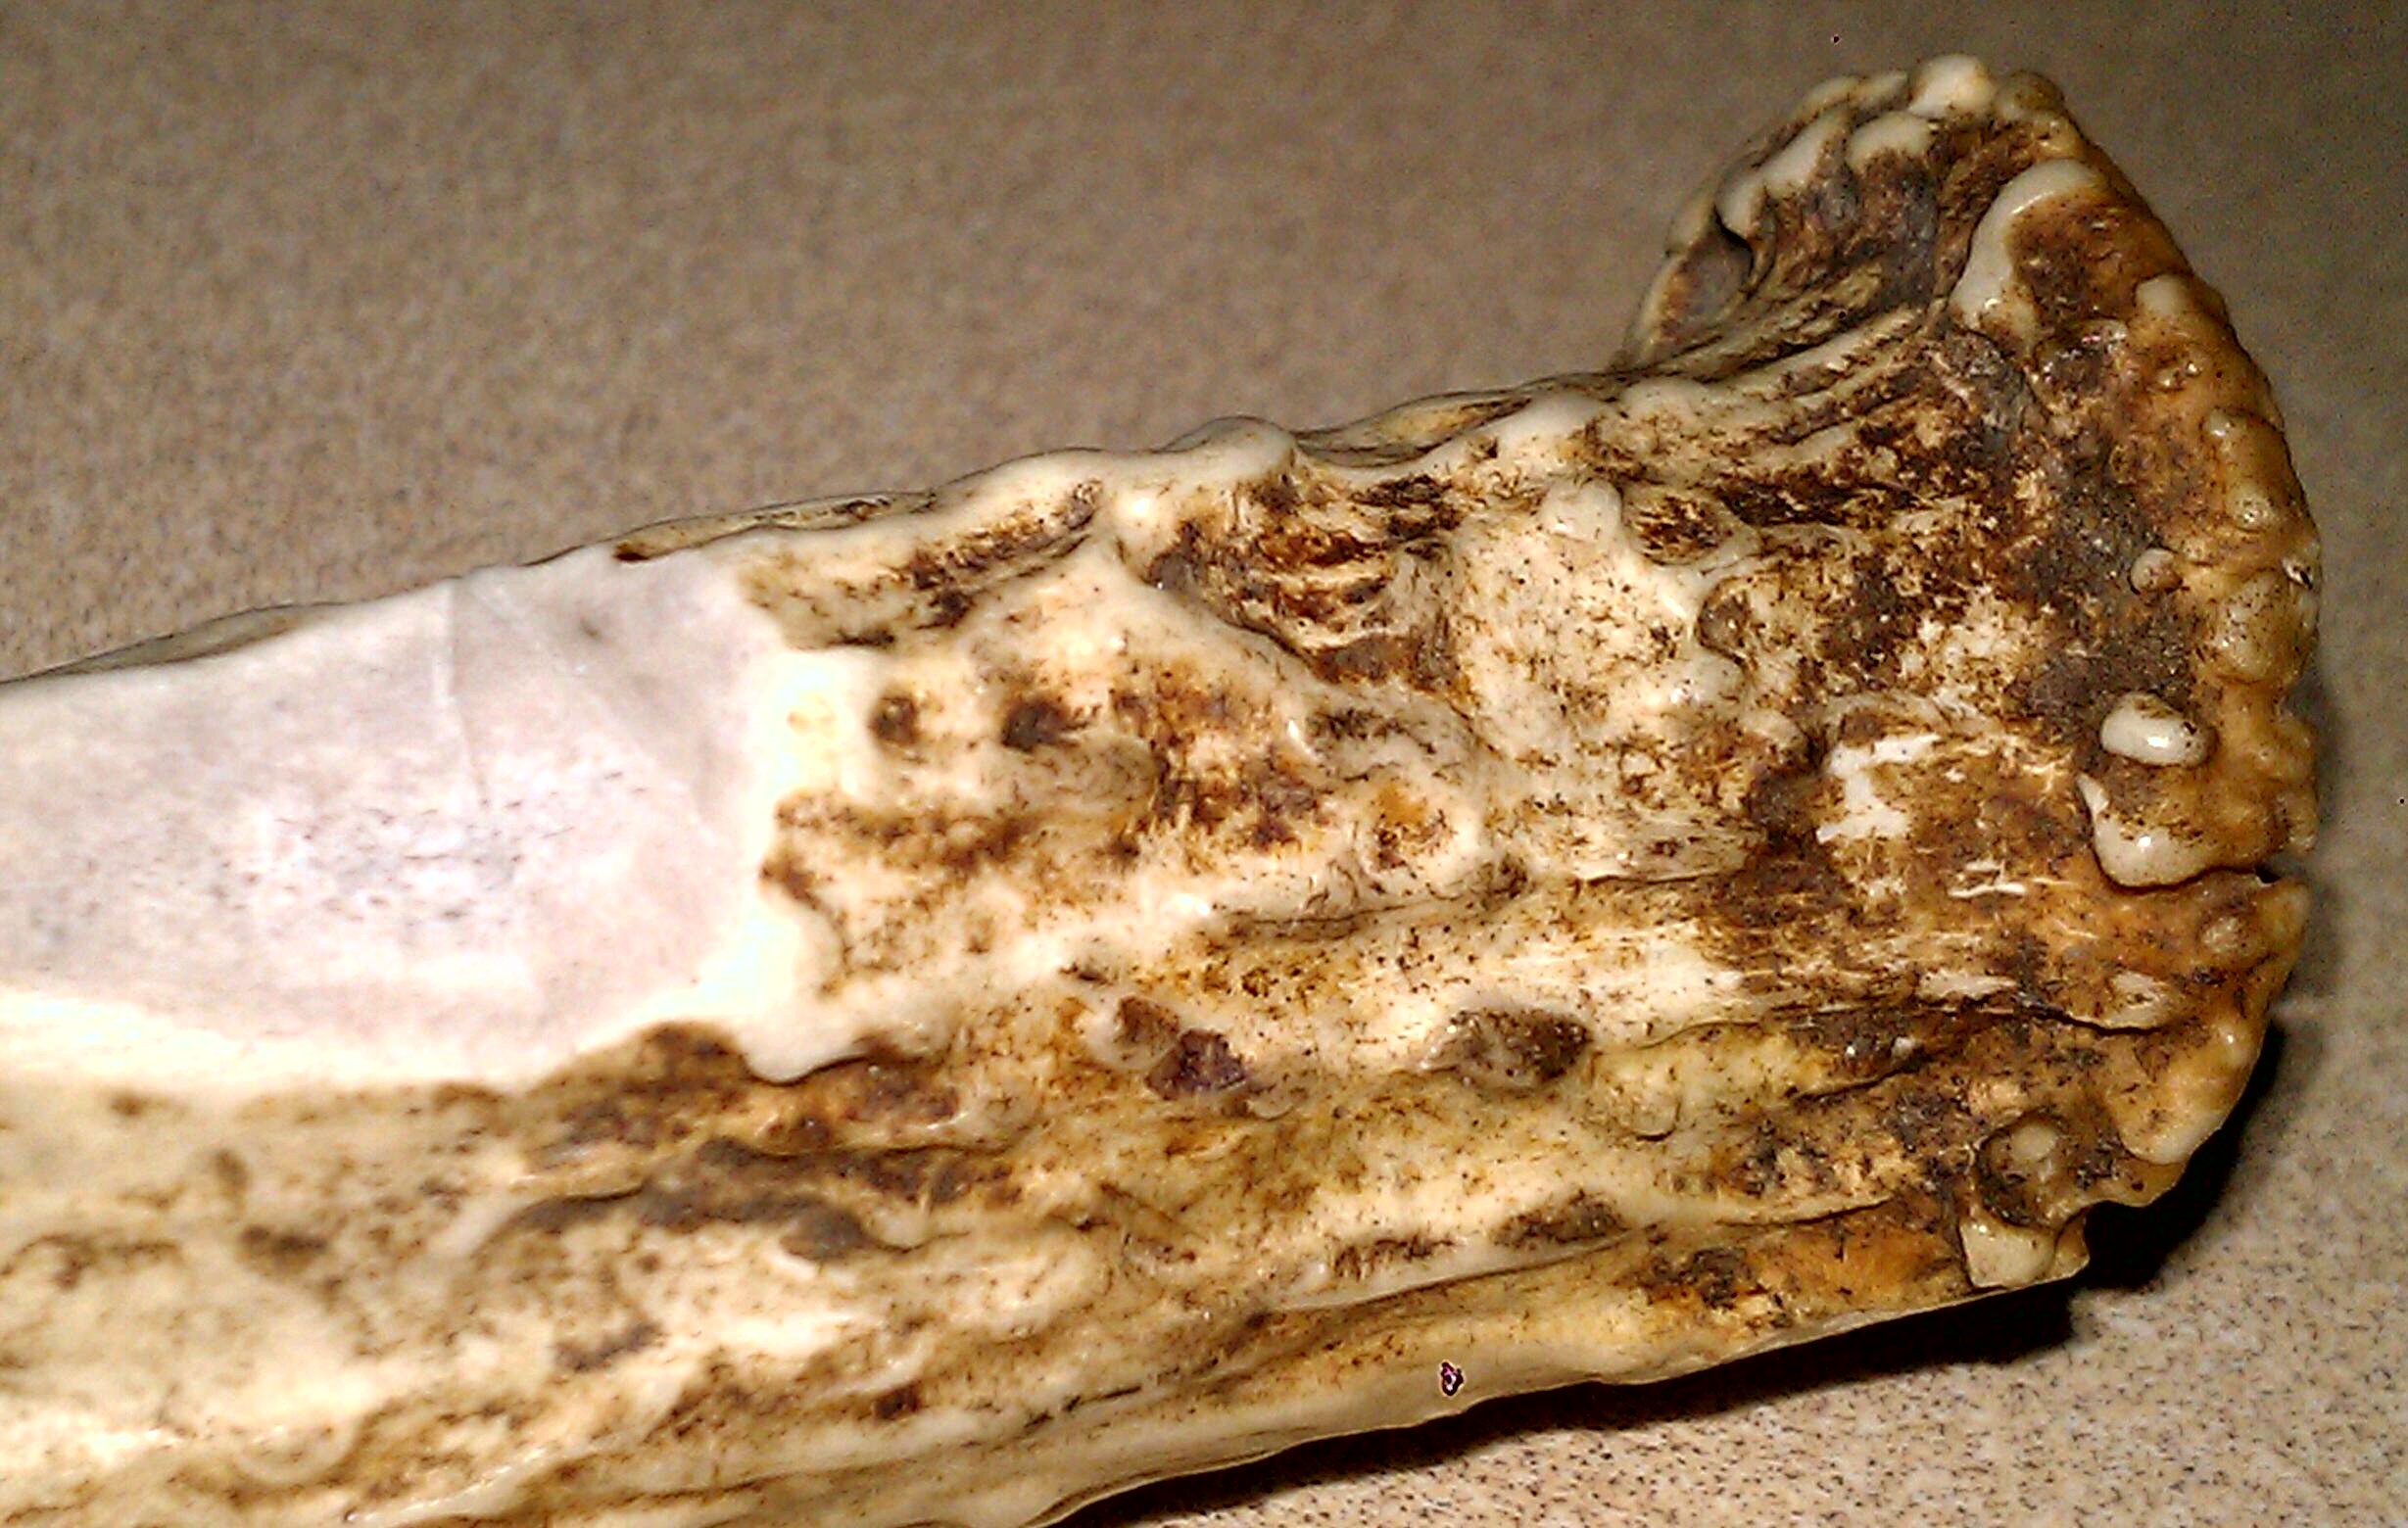
After assembling your tools, you need to choose your antler piece. I struggled with this because I couldn’t decide if I wanted to use the base knot or to match the new handle to the wood handle. Ultimately, (and I recommend it) I chose to use the antler base because the knots made for a natural handle butt and were far more aesthetically satisfying than the smooth white of the upper antler. That decision is up to you.
You also need to decide on whether your new handle will be straight or curved, and whether the piece you’re considering will offer you enough material to create the handle you are envisioning in your mind.
Think about the curves, the knots, how it will look, fit together, and most importantly, how it will feel in your hand. Will the piece’s shape allow you to close the knife so the blade is contained in the antler? Then draw it out so you have a constant physical vision of your knife and how things will fit together.
Once you’ve decided, start by cutting the antlers from the skull-cap, then measure an antler piece that will give you enough for your handle (including the knife assembly) as well as maybe a 1/2 to 1 inch extra to account for mistakes (trust me, you will make them if you’re not careful).
Once you have selected your antler piece, taken your measurements, and drawn your vision, there’s nothing left to do except cut it from the rest of the antler with your hacksaw or power saw blade.
Prepping the Donor
It will take a little grit to disassemble an Opinel, but working with such knives is easier than models with ball bearings and complex lever mechanisms.
Start by prying and bending the outside metal band enough so that it will slip over the assembly pin and off without disfiguring it. Don’t worry, you can easily bend the band back into shape later during re-assembly.
To remove the rest, you’ll need to cut off one end of the pin with a hacksaw or Dremel blade. After that, the pin can be tapped and pulled out. Now the blade can be removed and the inner metal band too. Do not deform the inner metal band. It will be your template for a new pin hole on the antler.
Once the donor is disassembled, take accurate measurements of the inner metal ring, blade, and pin. Remember, Opinel is manufactured in France, so use metric measurements.
Cutting the Handle
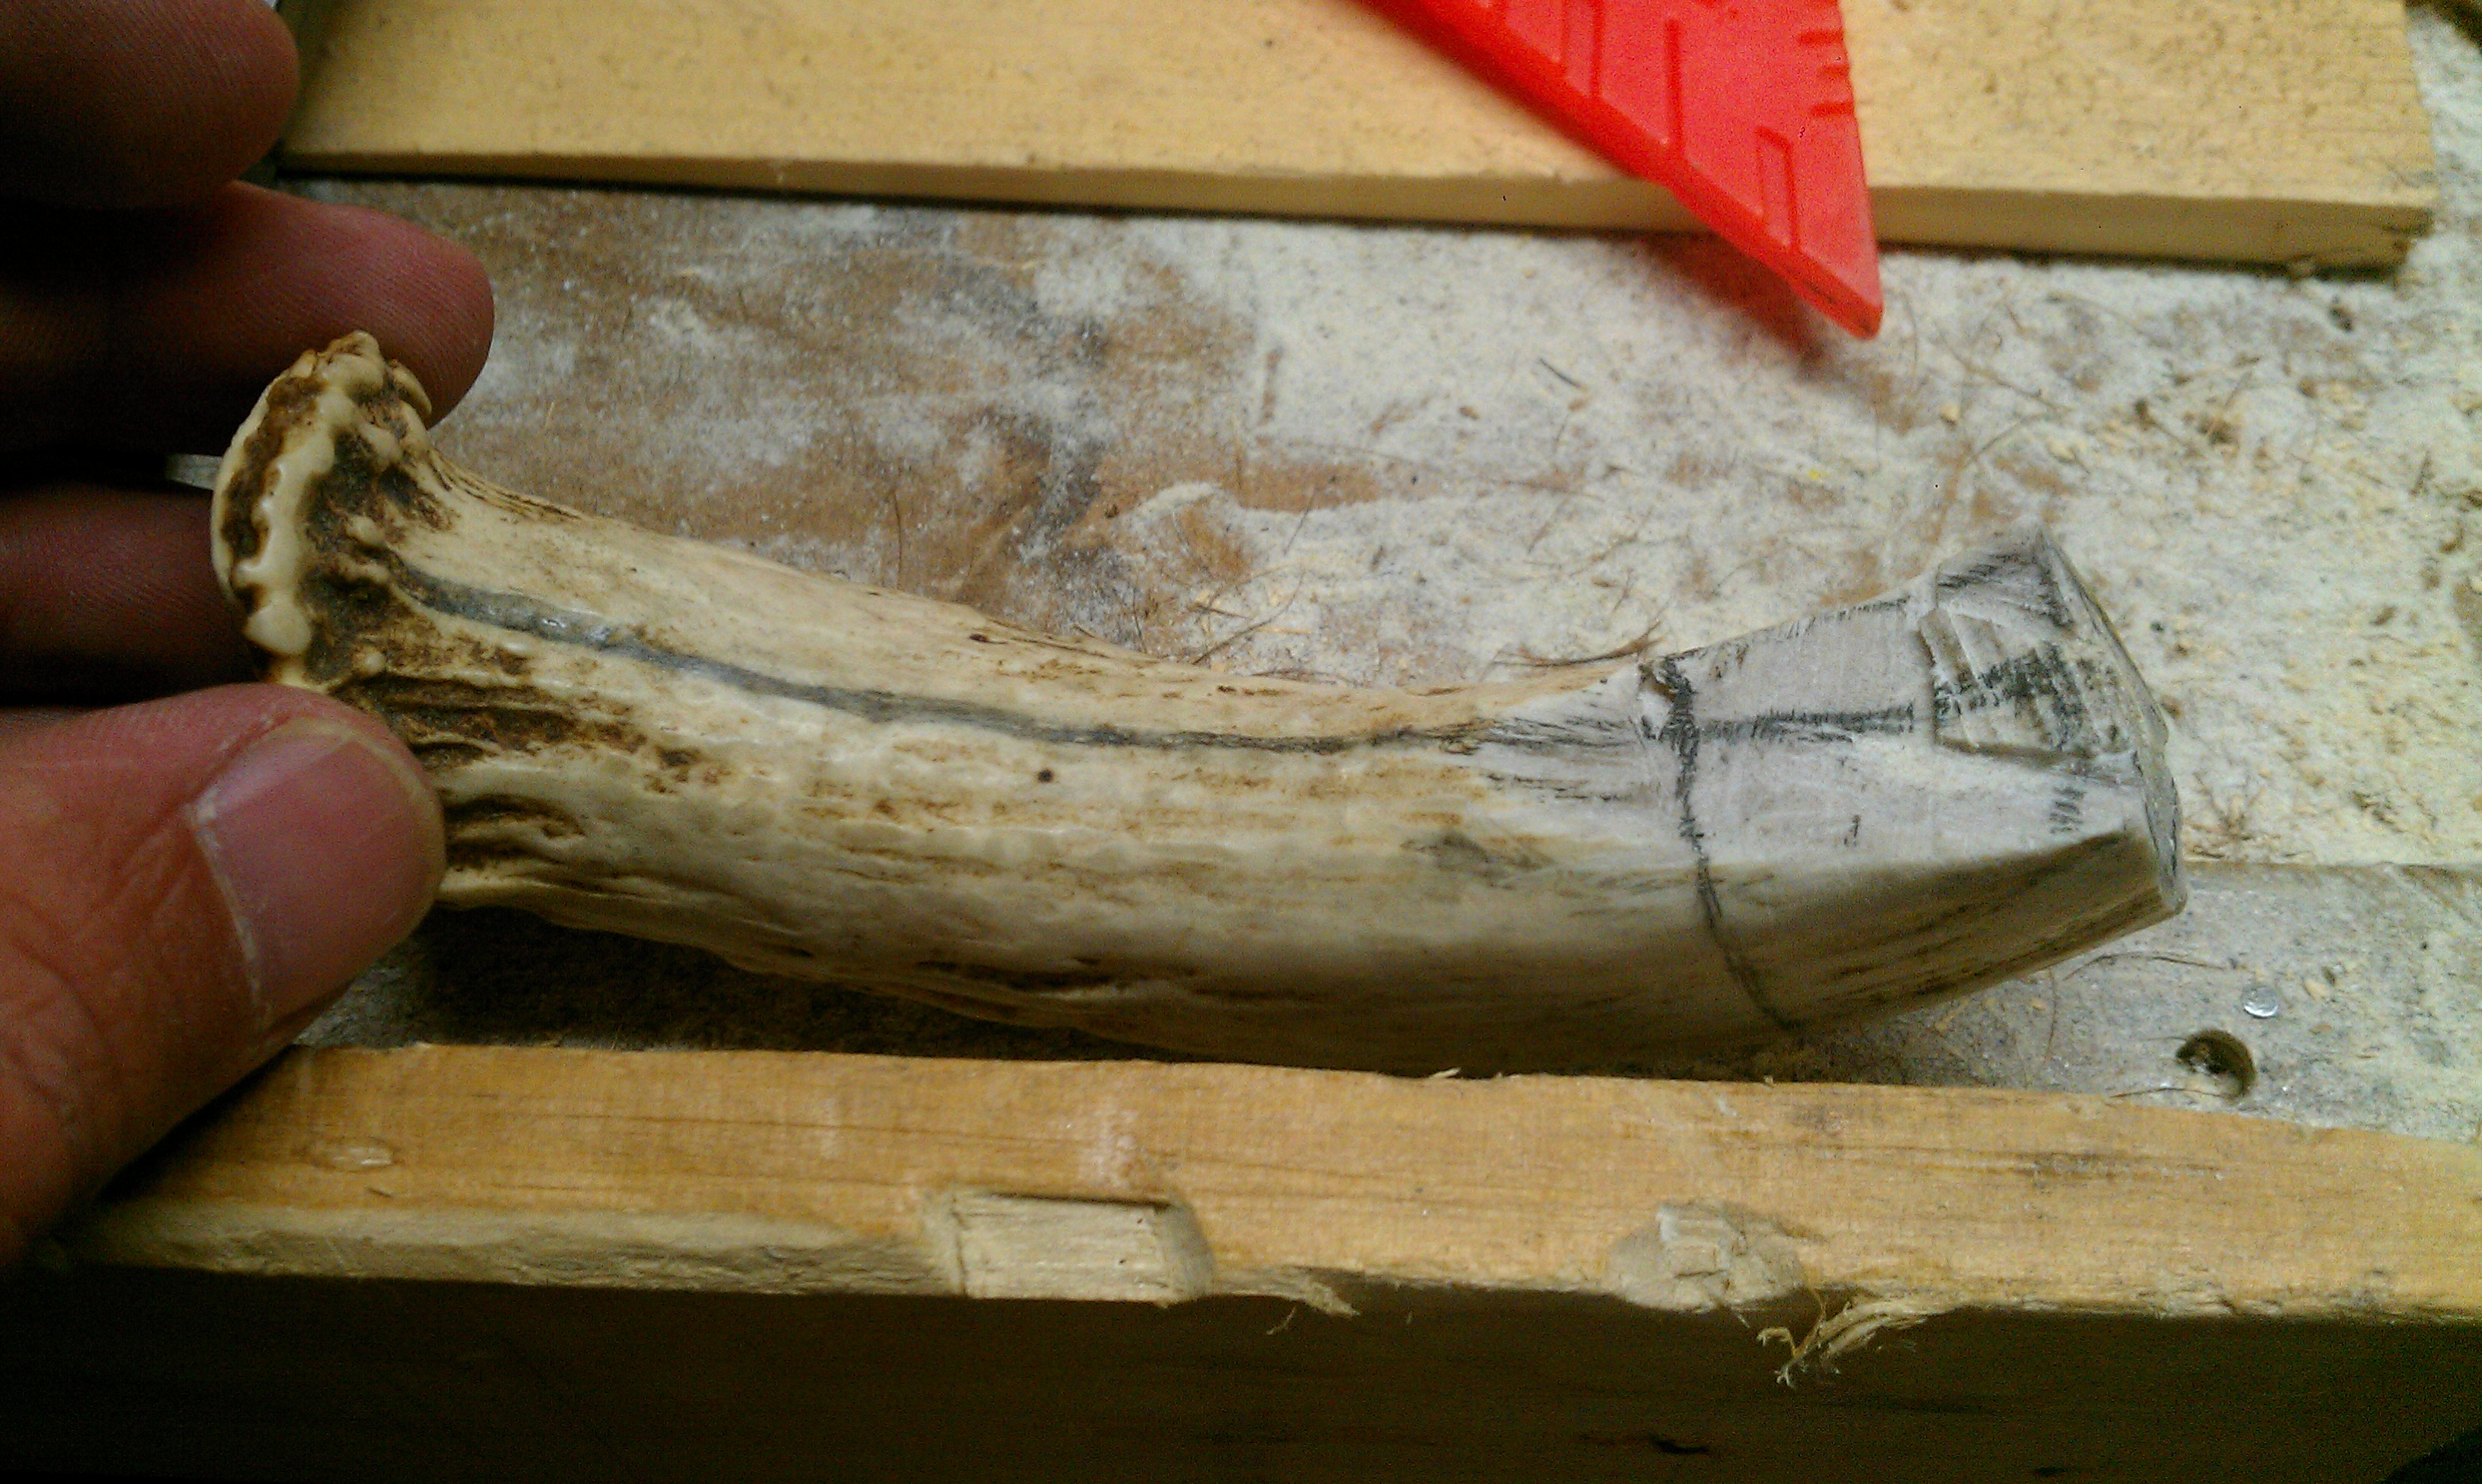
You’ll want to use your tape measure and inner metal band to mark out the area on your knife where the blade slot and blade assembly parts will be cut. This is going to be a rough outline, but if you have it specific enough, you can use permanent marker to draw these lines and sand off the marker later.
Now you’re ready to cut. I suggest using your saws to make the first rough cuts the same way you would with a wood carving. These cuts won’t get you to the exact sizes, but close enough that you can use your knife, sander and precision grinding bits to bring the top assembly shaft down to its final width and circumference.

After the rough cuts, use your drill to cut pilot holes to the blade depth in the handle by measuring that depth on the drill bit and taping it at the measurement.
The slot will act as your center point for the final shaping of the antler assembly shaft. Either side should be equidistant from the blade. You’ll also want to make sure your blade slot cut is a fraction smaller than the tang of the blade otherwise you’ll need washers to create a snug and balanced fit when attaching the blade to the handle. You don’t want a wobbly pocket knife blade.

Once the pilot holes are drilled, that’s your length and depth template to finish the blade slot with cutting wheels or a router. Once the slot is finished, use sandpaper to smooth it out. Fit your knife blade into the slot periodically to make sure it will work in both the closed and open positions. Fine tuning can take place after you begin assembly.
As you near your final sanding and shaving of the assembly shaft, periodically push the inner metal band onto the shaft to make sure it fits and won’t be loose. If you get to the point where you have less than an 1/8th of an inch before it fits, try tapping the inner band down into place with a mallet. If you notice this pushes the band’s opening wider, pull it off and sand some more antler.
When it’s on correctly, the top of the inner band should be level with the top of the antler shaft.
Re-assembling Knife Components
Your shaping, cutting and carving is done. Now you need to re-assemble the blade components, but first you need to drill the pin hole.
Best way to do this is tap the inner band onto the handle, and use a drill bit that’s slightly smaller than the hole in the metal. That way the pin will fit snug into the hole and won’t easily slip out. Drill the hole on one side. Turn the knife over, re-clamp it to the work bench and drill the other side of the hole. Line up the bit in both holes and give it a few in and out drills to make sure the hole is straight.

Now test it by assembling the blade and tapping in the pin. If the blade is snug, good. If not, you’ll need a washer or two on either side in the final assembly to fit it properly. Either way, make sure at this stage that you can open and close the knife blade freely, or with a slight friction on the knife tang. If it doesn’t open and close freely, don’t force it. You should pull the pin and sand off just enough internal antler surface for free movement.
Also make sure the back of the blade tang sits level or close to level with the inner metal band when it’s in the closed position. Otherwise, the outer metal ring will not slide into the locked-closed position. However, this is easily fixed with some more sanding of the slot, or grinding the metal on the back of the blade tang so the band swivels tightly into the locked position.
Finishing the Blade
Once the blade moves freely and fits snug in the slot, you can put it together with the pin and make sure everything operates correctly.
The final step is to re-assemble the outer metal band. First, you need to reshape it so that when it’s back together with the other components, the locking band will be tight, swivel freely and lock the blade closed and open.
Easiest way to do that is to use your pliers to pinch the band and reduce the circumference at both the top and bottom without deforming it. The band (which is wider at the base than the top) should still slip down to the pin.
A rubber mallet can then be used to tap the band back over the pin and into its final place.
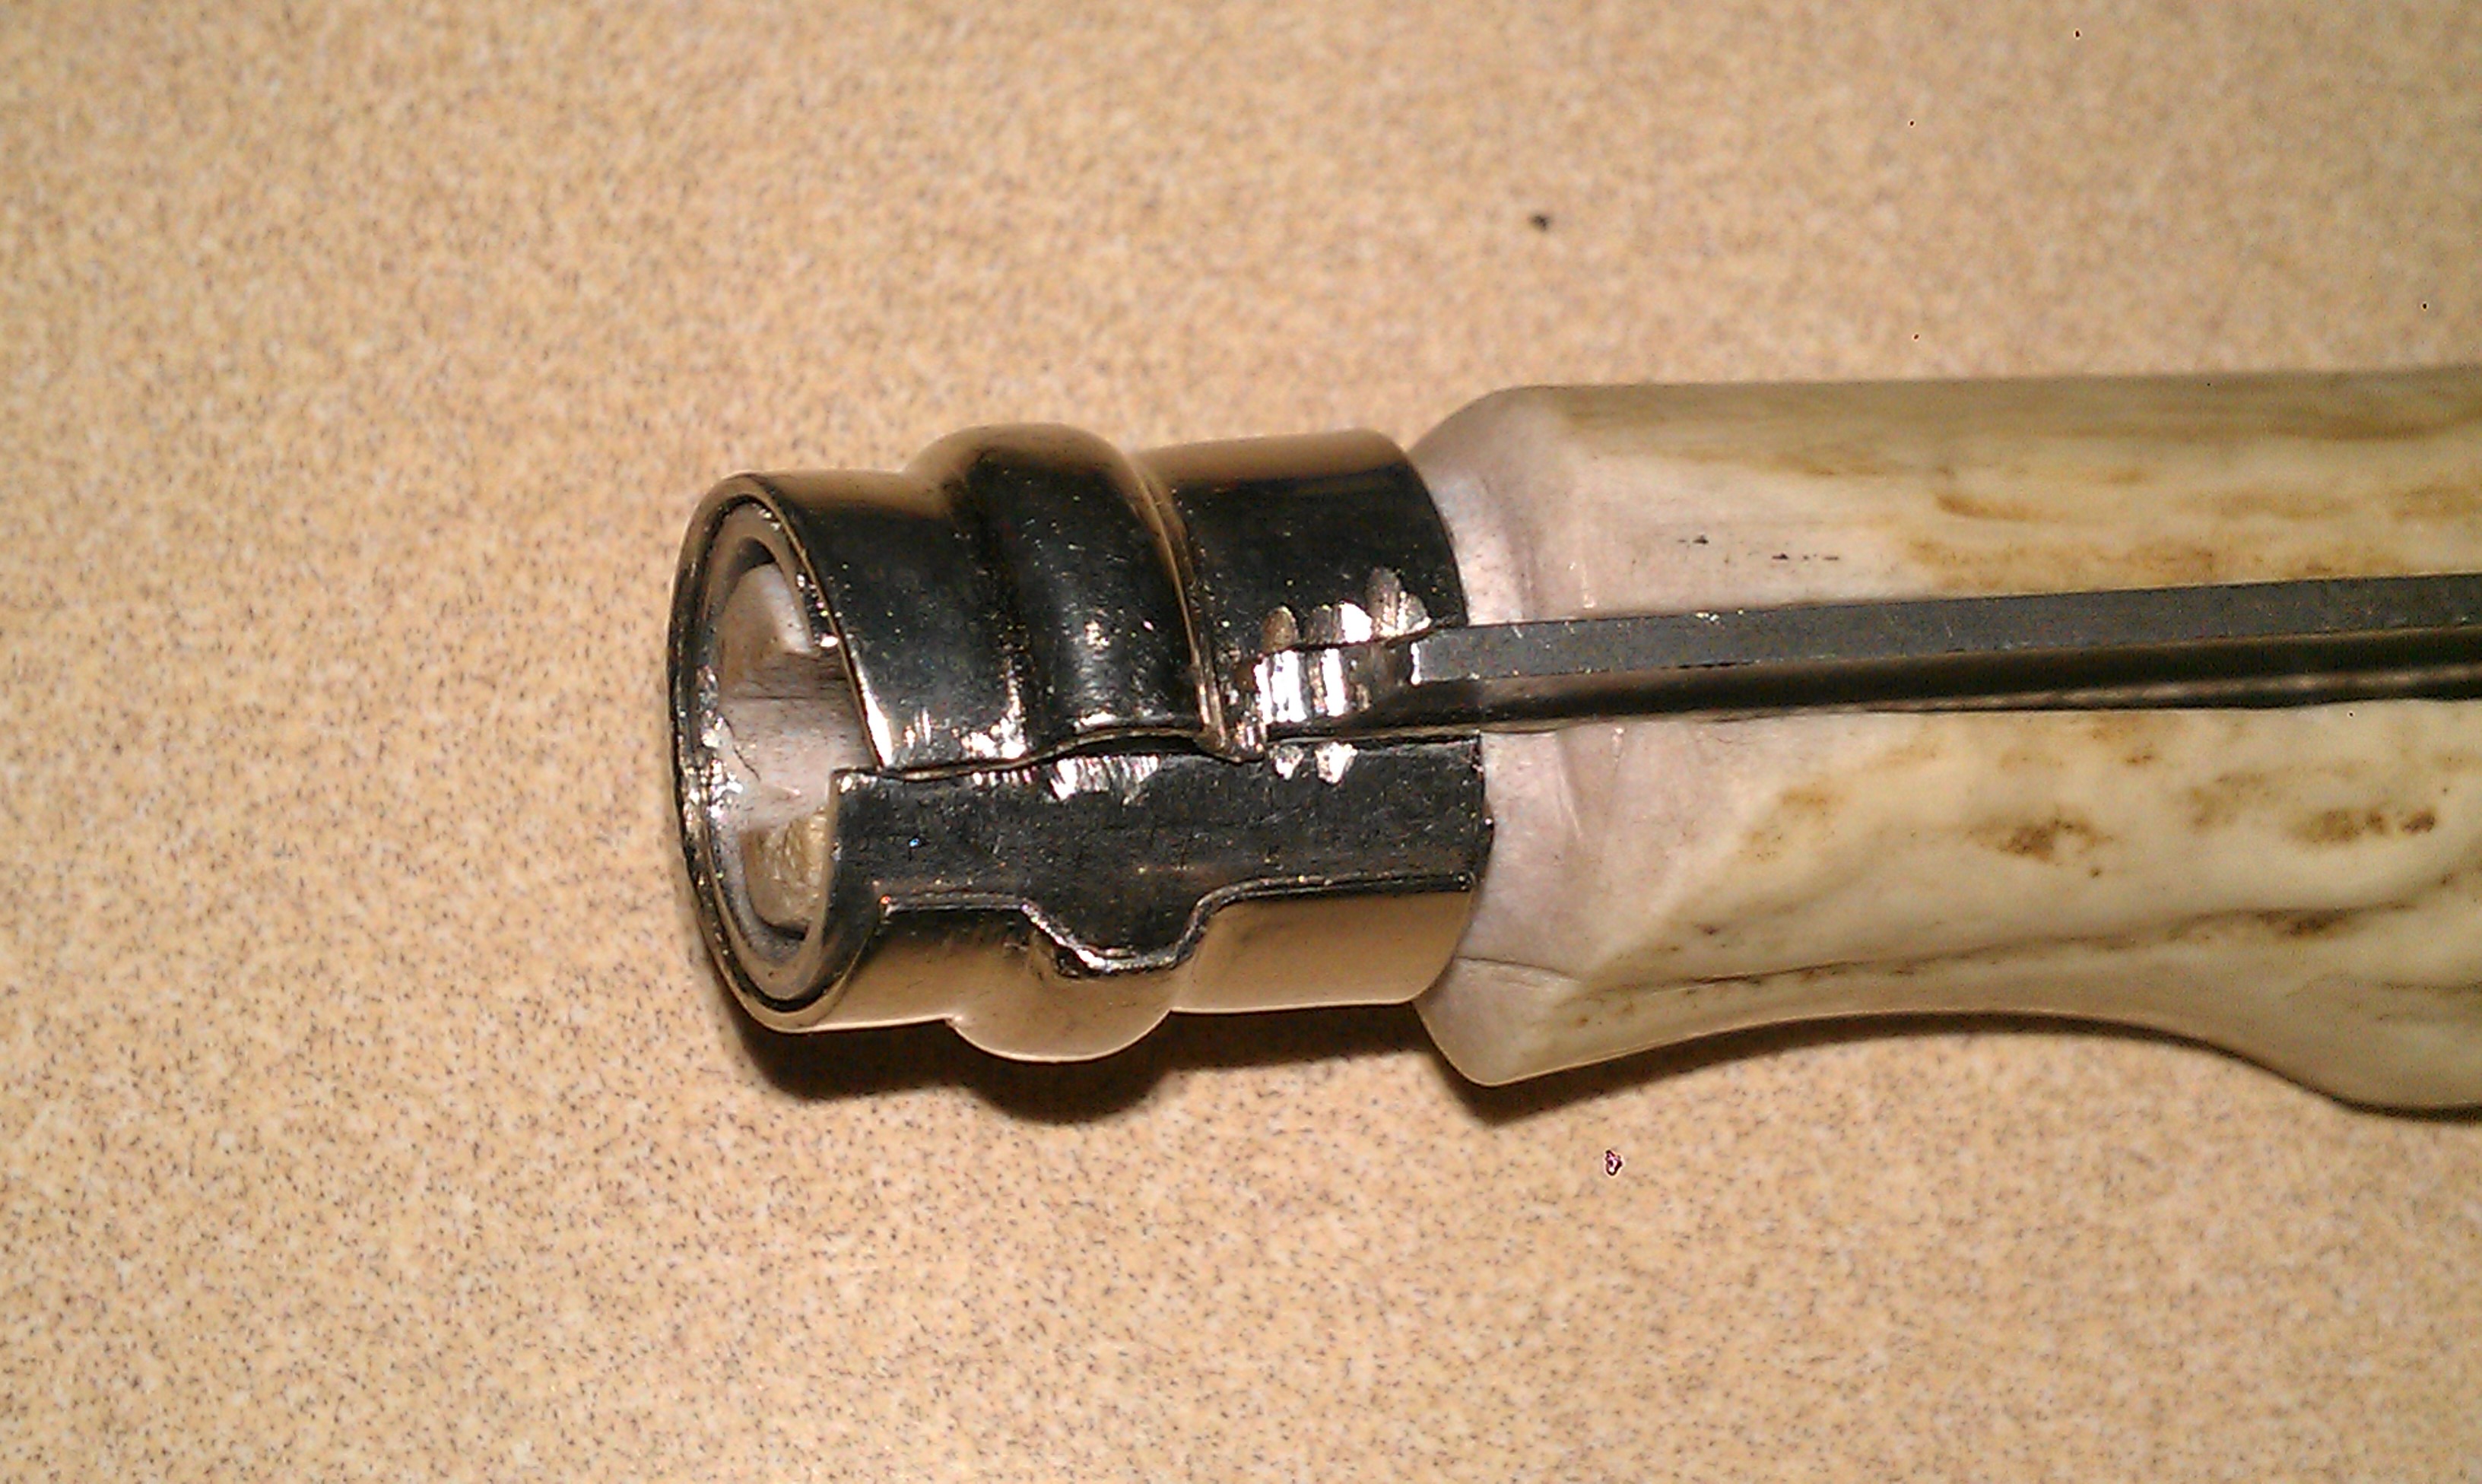
Test your new pocket knife to make sure everything works. There you have it, a new antler handle for an Opinel pocket knife.
