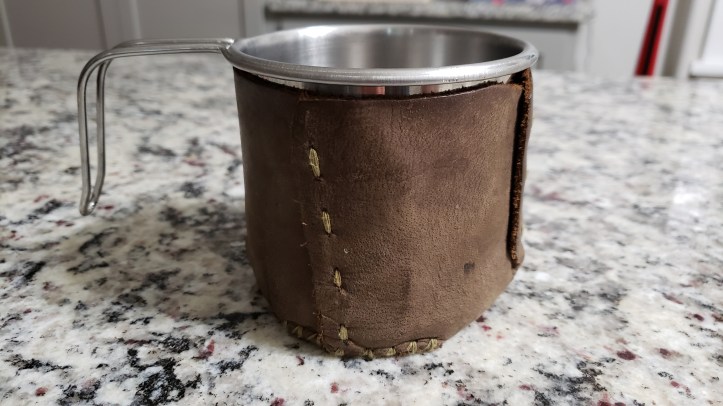
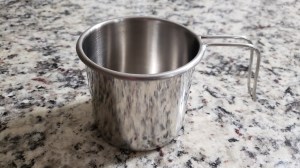
My stainless steel trail mug is one of my favorite pieces of gear. It follows me on backpacking trips, climbing trips, car-camping trips, and trips with my sons’ scout troop.
It’s the perfect utilitarian piece. Holding 2 cups, you can boil water on a stove or the fire for dehydrated meals, or coffee and tea, without the weight of larger pots.
But, because it’s metal, any hot liquid quickly loses its temperature to the colder air. And directly off the fire, the metal is too hot to hold with bare hands. Even the handle can be scolding.
It dawned on me one day (while sitting around sipping beers in foam coozies): I need a coozy for my trail mug!
I couldn’t repurpose a beer-can coozy. Stainless steel right off a fire or my MSR stove would melt through it in seconds, ruining my mug and potentially burning my hands with molten plastic. What material wouldn’t do that?
Real leather. It’s durable enough not to burn, would protect my hands, and conserve the heat of the liquid longer than the naked steel.
A quick trip to the local craft store and I found an 1/8-inch thick soft, brown leather square perfect for the coozy. Back home, I starting thinking about how to fit a square onto a cylinder. By folding the corners up and somewhat into a spiral pattern, I was able to cover the mug’s exterior. I clamped the leather to the mug to do the rough shape and first cuts.
I trimmed the excess leather at the rim and on the sides to give it a clean aesthetic. Because of the way it was folded, two sides did not cleanly line up with the mug bottom. I marked the lines where an edge needed to be cut in the leather so the flaps could be sewn to the bottom.
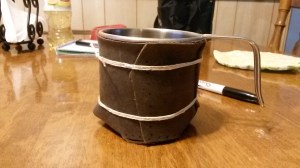
Once the shape was set, I used twine to tightly bind the leather in its shape to the mug. Leather is thick, so sewing the seams by hand without first punching holes was futile. I jabbed myself with the needle six times before I changed course.
I marked off the holes on either side of the bottom seams with a Sharpie. I also marked the holes for the side stitches. The flaps that connected to the bottom seams got four stitches. The other two received three stitches. Then I created the holes with a needle punch, first poking through with the leather on the mug. Then I removed the mug and enlarged each hole through both flaps.
I used heavy polyester thread to create each stitch independent of the others on the side flaps, making multiple passes to add durability. On the bottom seams, I stitched two holes, then passed diagonally to the next set in order to pull the seam tight as I stitched.
The project was time consuming, but it can certainly be completed in a day or two.
The end result was exactly what I was looking for: a durable leather sheath for my mug to conserve liquid heat and protect my hands from the metal. And I made it for a total cost of about $15, maybe $25 if you have to buy the mug.


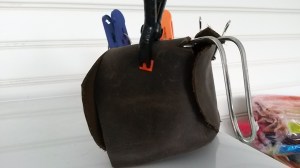
The bonus, I learned, is that the coozy is a convenient cup to hold little things while I’m preparing a meal on the trail, like my spoon and pocket knife. It’s flexibility also makes it effective as a potholder to grab my mug’s handle when removing it from the flame.
If you’re looking for an easy project to augment your cooking gear, give this a try.
